
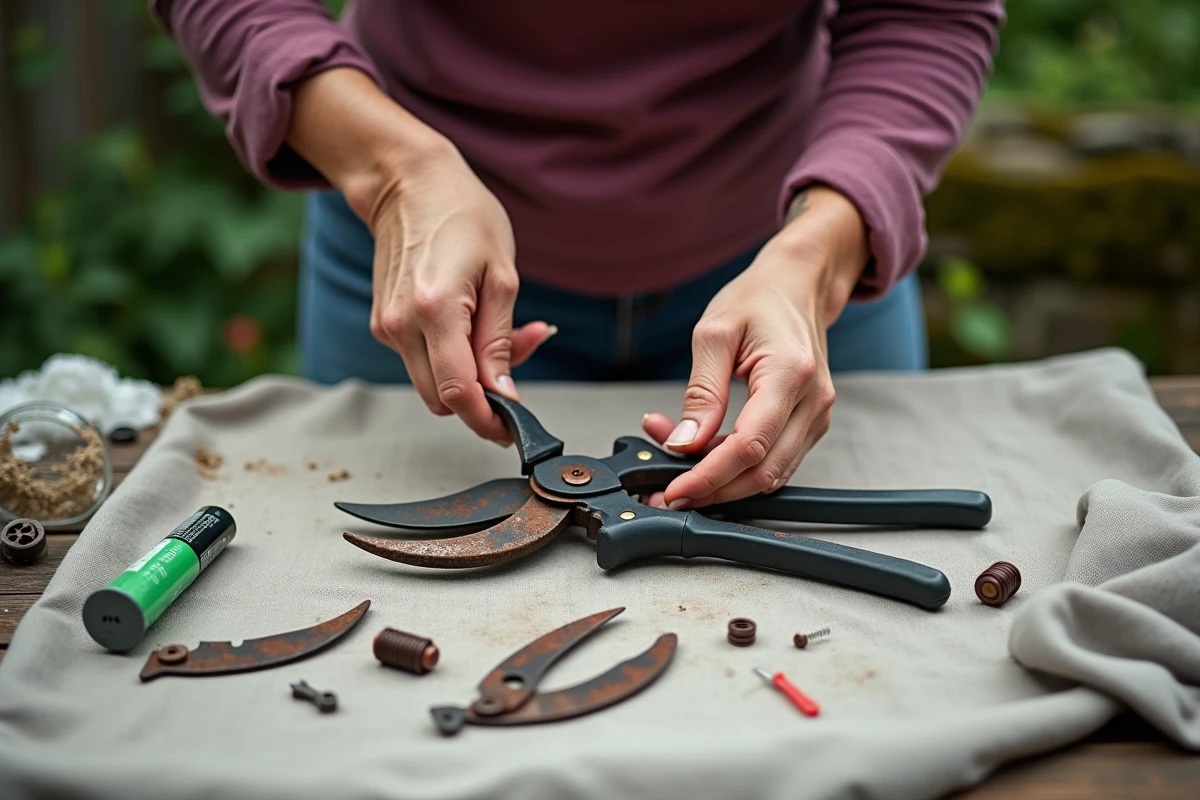
A pruner that crushes stems instead of cutting them cleanly presents a real problem: uneven cuts, slow healing of plants, increased muscle effort. Before replacing the tool, it is essential to identify the actual cause of the malfunction. Loss of sharpness explains only part of the cases. Mechanical play, rust, sap deposits, or a tired battery on an electric model produce the same symptom but require very different repairs.
Loss of cutting ability of the pruner: a diagnosis that changes the repair
Too many gardeners jump straight to sharpening when the blade is sometimes not the issue. Comparing the possible origins of the defect can save time and prevent worsening the problem.
Read also : How to Solve Common Pellet Stove Issues: Tips and Advice
| Origin of the defect | Observable symptom | Appropriate repair |
|---|---|---|
| Dull blade | Crushed branch, fibrous cut | Sharpening with a stone or diamond file |
| Dried sap deposits | Sticky blade, difficult closure | Cleaning with solvent (alcohol, penetrating oil) |
| Rust on the blade or axis | Brown spots, resistance to opening | Brushing, penetrating oil, then lubrication |
| Play in the axis (loose bolt) | Blades misaligning, branch slipping between them | Tightening or replacing the central bolt |
| Broken or deformed spring | The pruner no longer reopens by itself | Replacing the spring |
| Deformed plastic mechanism (entry-level) | Permanent play that cannot be adjusted | Replacing the tool |
This table highlights a point confirmed by several customer service feedbacks: on low-end pruners with rack or anvil mechanisms, a deformed plastic mechanism cannot be repaired by simple sharpening. The mechanical play then requires complete replacement of the tool.
To go further on each cause and its solution, Maisons Alternatives’ advice details the corrective actions step by step.
You may also like : Simple and Effective Tips to Make Your Daily Life Easier
Cleaning and sharpening the blade: the method that preserves sharpness
Cleaning always precedes sharpening. Sharpening a dirty blade is like polishing hardened sap without touching the cutting edge.
Remove deposits before any intervention
Oxidized sap forms a brownish film that sticks the blades together. A cloth soaked in denatured alcohol or solvent-based penetrating oil is sufficient in most cases. For stubborn residues, a touch of turpentine oil softens the resin in a few minutes.
A precaution often overlooked: never cut sandpaper to clean the blade. This false tip, circulated on some forums, dulls the edge instead of restoring it.
Sharpen on one side only
A pruner with a bypass blade (the most common type) is only sharpened on the beveled side. Working on both sides alters the cutting angle and creates a gap between the blade and the counter-blade.
- Dismantle the pruner by removing the central bolt, spring, and washer. Keep all parts together to avoid losing any.
- Run a sharpening stone or diamond file along the bevel, following the original angle, from heel to tip. A few regular passes are sufficient.
- Check the result by cutting a sheet of newspaper: a well-sharpened blade cuts cleanly without tearing.
- Reassemble everything, adjusting the tightness of the bolt so that the blades touch without forcing.
Sharpening does not correct a deeply chipped blade. On a visible notch, more material must be removed with a flat file before returning to the fine stone.
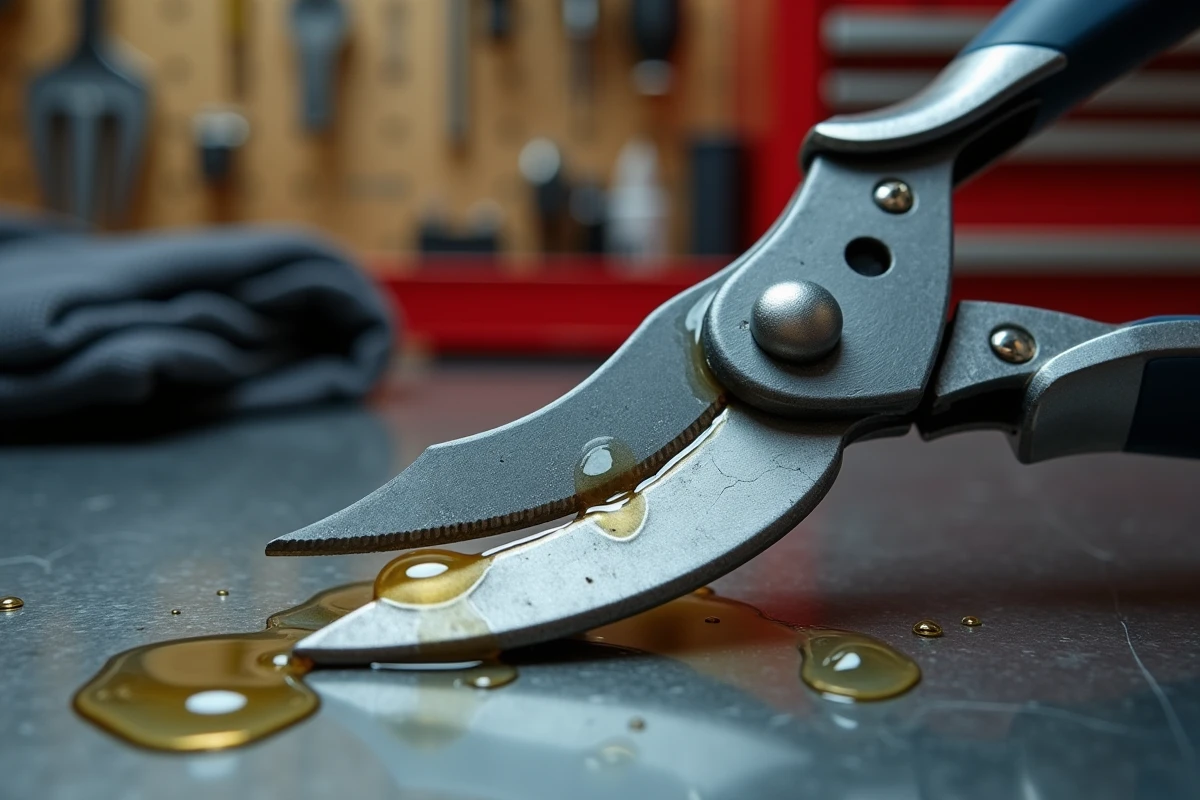
Rust and lubrication of the pruner: two linked actions
Humidity needs only one night to initiate oxidation. A pruner stored wet after a trimming session in morning dew can rust within a few days, especially at the axis and the junction of the blades.
Brushing with a wire brush removes surface rust. For the axis and moving parts, a penetrating oil loosens the blocking oxidation points. Lubrication after each cleaning reduces friction and slows future corrosion.
The choice of lubricant matters. A fine oil (such as vaseline oil or cutting tool lubricant) is suitable for manual pruners. However, for electric pruners, manufacturers recommend specific lubricants, often biodegradable: too thick a grease can hinder the cutting cycle and may trigger a motor error, even voiding the warranty.
Electric pruner that no longer cuts: the battery before the blade
On a recent electric model, a gradual loss of power does not necessarily mean that the blades are dull. Recent customer service feedback points to a less visible phenomenon: the drop in battery voltage under load causes incomplete cuts on hard wood, while the pruner operates normally when not loaded.
This discrepancy between performance when unloaded and actual performance misleads many users, who unnecessarily sharpen blades in good condition. Before intervening on the blades of an electric pruner, testing the battery on a full charge cycle allows for isolating the problem.
Tool and branch diameter compatibility
A standard manual pruner is designed for branches with a diameter that does not exceed a certain limit, which varies depending on the model. Forcing on a branch that is too thick creates premature play in the axis and deforms the mechanism. For larger branches, a lopper or a more powerful electric pruner prevents damage to the tool.
The repair of a pruner that no longer cuts rarely comes down to a single action. A quick diagnosis (clogging, rust, mechanical play, battery) guides towards the right intervention and extends the tool’s lifespan by several seasons. Replacement is only justified when the mechanism itself is irreparably deformed.